
Getting Started with OpenClaw and Connecting It with WhatsApp
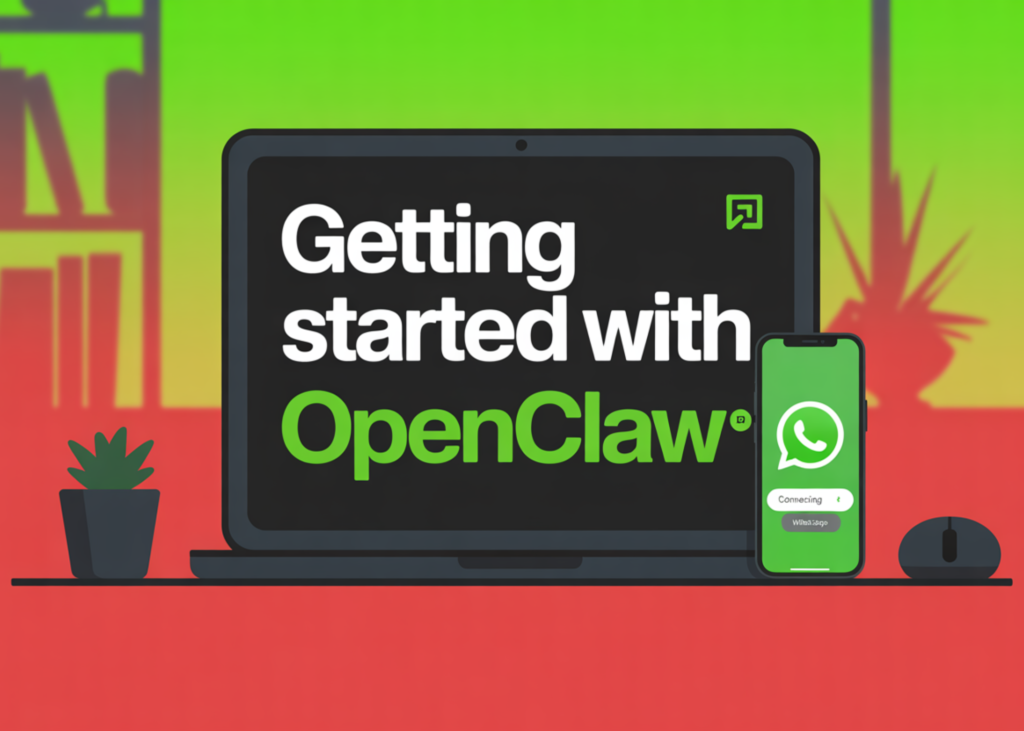
OpenClaw is a self-hosted personal AI assistant that runs on your own devices and communicates through the apps you already use—such as WhatsApp, Telegram, Slack, Discord, and more. It can answer questions, automate tasks, interact with your files and services, and even speak or listen on supported devices, all while keeping you in control of your data.
Rather than being just another chatbot, OpenClaw acts as a true personal assistant that fits into your daily workflow. In just a few months, this open-source project has surged in popularity, crossing 150,000+ stars on GitHub. In this article, we’ll walk through how to get started with OpenClaw and connect it to WhatsApp.
What can OpenClaw do?
OpenClaw is built to fit seamlessly into your existing digital life. It connects with 50+ integrations, letting you chat with your assistant from apps like WhatsApp, Telegram, Slack, or Discord, while controlling and automating tasks from your desktop. You can use cloud or local AI models of your choice, manage notes and tasks, control music and smart home devices, trigger automations, and even interact with files, browsers, and APIs—all from a single assistant you own.
Beyond chat, OpenClaw acts as a powerful automation and productivity hub. It works with popular tools like Notion, Obsidian, GitHub, Spotify, Gmail, and Home Assistants, supports voice interaction and a live visual Canvas, and runs across macOS, Windows, Linux, iOS, and Android. Whether you’re scheduling tasks, controlling devices, generating content, or automating workflows, OpenClaw brings everything together under one private, extensible AI assistant.
Installing OpenClaw
You can head over to openclaw.ai to access the code and follow the quick start guide. OpenClaw supports macOS, Windows, and Linux, and provides a simple one-liner that installs Node.js along with all required dependencies for you:
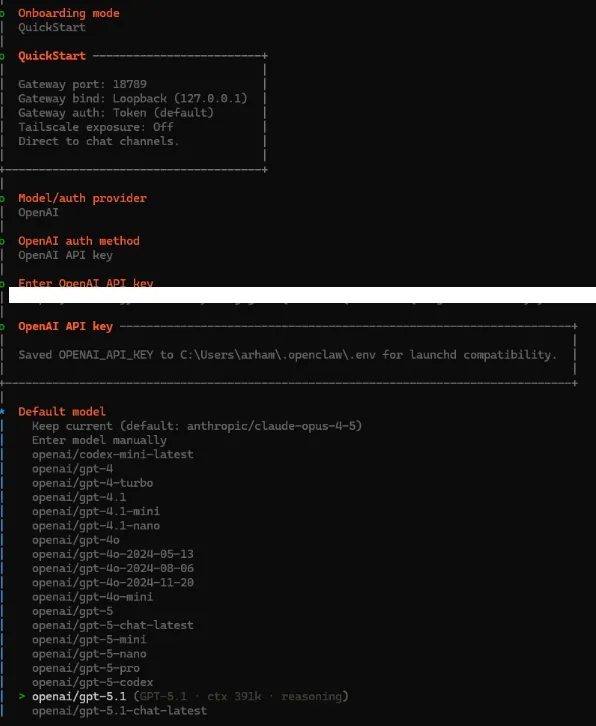
After running the command, OpenClaw will guide you through an onboarding process. During setup, you’ll see security-related warnings explaining that the assistant can access local files and execute actions. This is expected behavior—since OpenClaw is designed to act autonomously, it also highlights the importance of staying cautious about prompts and permissions.

Configuring the LLM
Once the setup is complete, the next step is to choose an LLM provider. OpenClaw supports multiple providers, including OpenAI, Google, Anthropic, Minimax, and others.
After selecting your provider, you’ll be prompted to enter the corresponding API key. Once the key is verified, you can choose the specific model you want to use. In this setup, we’ll be using GPT-5.1.
Adding Skills
During configuration, OpenClaw also lets you add skills, which define what the agent can do beyond basic conversation. OpenClaw uses AgentSkills-compatible skill folders to teach the assistant how to work with different tools and services.
Each skill lives in its own directory and includes a SKILL.md file with YAML frontmatter and usage instructions. By default, OpenClaw loads bundled skills and any local overrides, then filters them at startup based on your environment, configuration, and available binaries.
OpenClaw also supports ClawHub, a lightweight skill registry. When enabled, the agent can automatically search for relevant skills and install them on demand.
Another popular option is https://skills.sh/. You can simply search for the skill you need, copy the provided command, and ask the agent to run it. Once executed, the new skill is added and immediately available to OpenClaw.

Configuring the Chat Channel
The final step is to configure the channel where you want to run the agent. In this walkthrough, we’ll use WhatsApp. During setup, OpenClaw will ask for your phone number and then display a QR code. Scanning this QR code links your WhatsApp account to OpenClaw.
Once connected, you can message OpenClaw from WhatsApp—or any other supported chat app—and it will respond directly in the same conversation.

Once the setup is complete, OpenClaw will open a local web page in your browser with a unique gateway token. Make sure to keep this token safe and handy, as it will be required later.

Running OpenClaw Gateway
Next, we’ll start the OpenClaw Gateway, which acts as the control plane for OpenClaw. The Gateway runs a WebSocket server that manages channels, nodes, sessions, and hooks.
To start the Gateway, run the following command:
Once the Gateway is running, refresh the earlier local web page that displayed the token. This will open the OpenClaw Gateway dashboard.
From the dashboard, navigate to the Overview section and enter the Gateway token you saved earlier to complete the connection.

Once this is done, you can start using OpenClaw either from the chat interface in the Gateway dashboard or by messaging the bot directly on WhatsApp.
Note that OpenClaw responds to messages sent to yourself on WhatsApp, so make sure you’re chatting with your own number when testing the setup.


I am a Civil Engineering Graduate (2022) from Jamia Millia Islamia, New Delhi, and I have a keen interest in Data Science, especially Neural Networks and their application in various areas.